Modify a Project
Once a project is created, information associated with it can be added or modified.
1 Manager access
PIs can grant manager access to users on their projects (e.g., a trusted graduate student or lab director) to manage the user accounts and allocations. Manager access only applies to the selected project and does not apply across all your projects.
1.1 Granting manager access
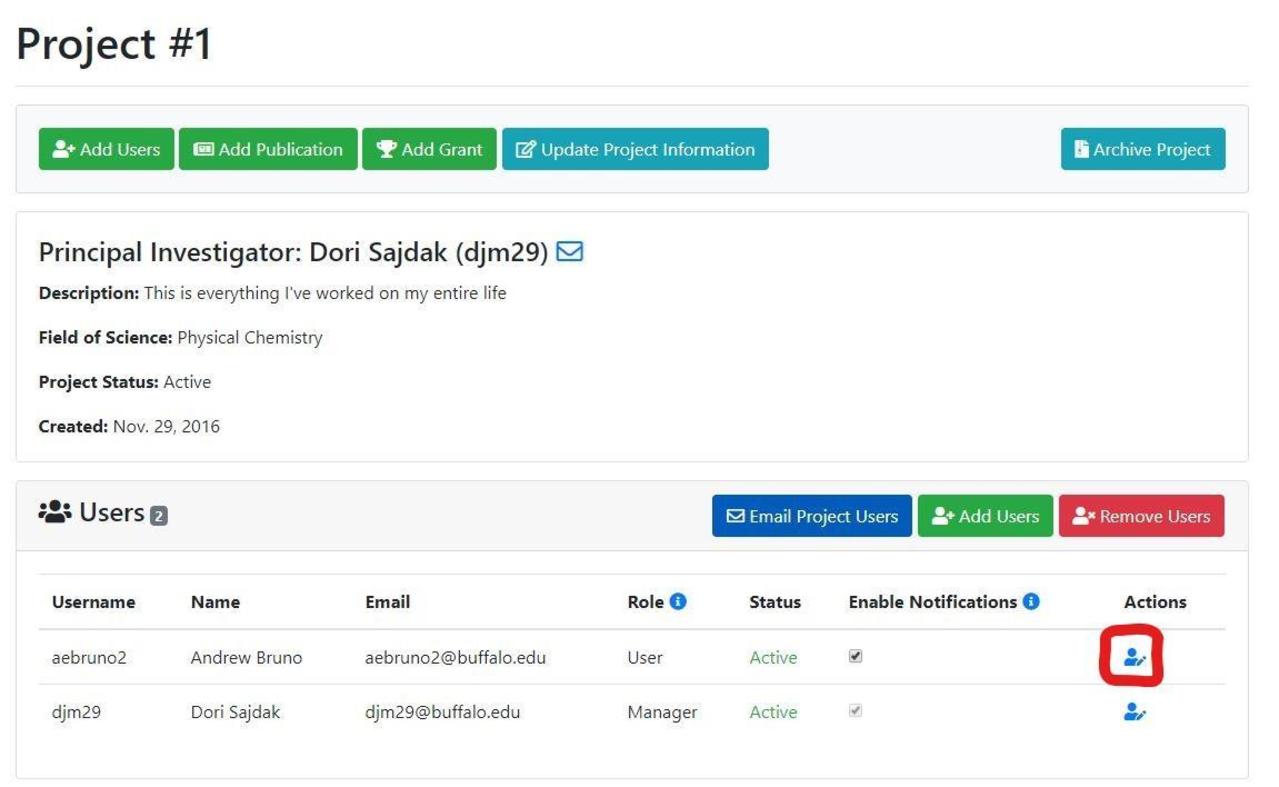
- Select the edit icon next to the desired user’s username under the “Actions” heading on the Project Details page.
- Change the Role drop-down option from User to Manager.
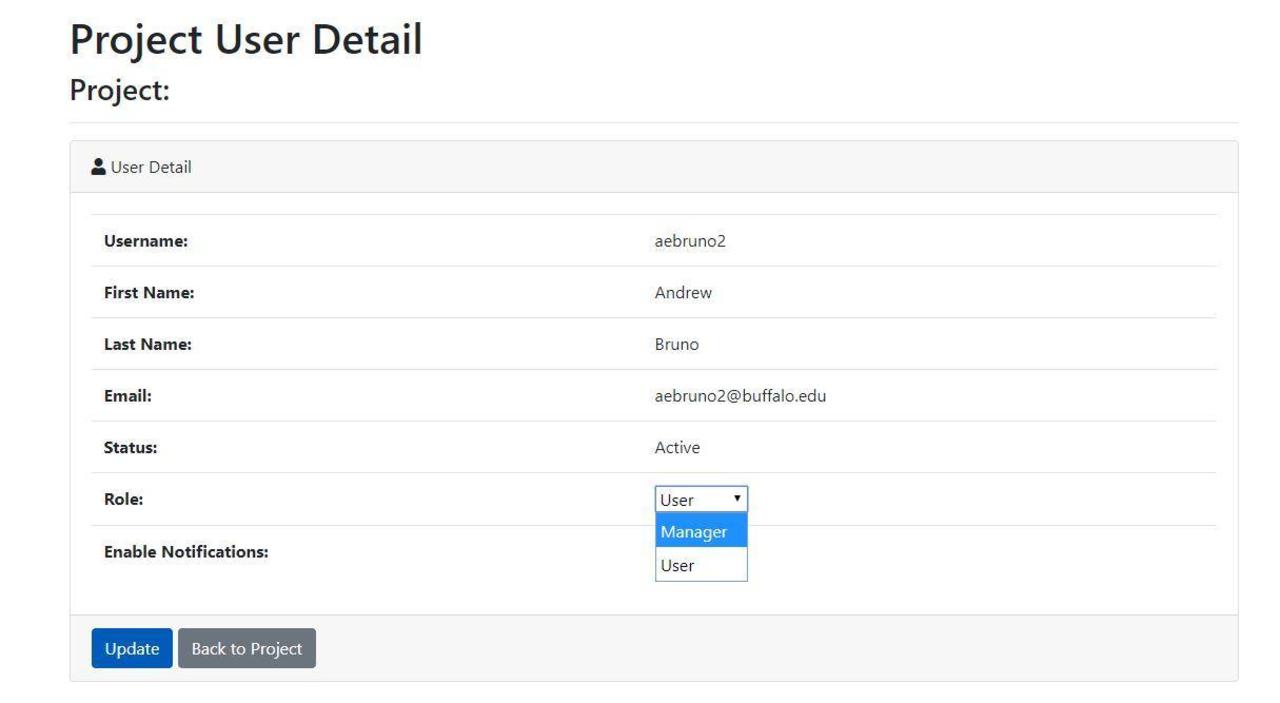
Select the blue Update button to save the changes.
That user is now listed as a “Manager” on the Project Details page.
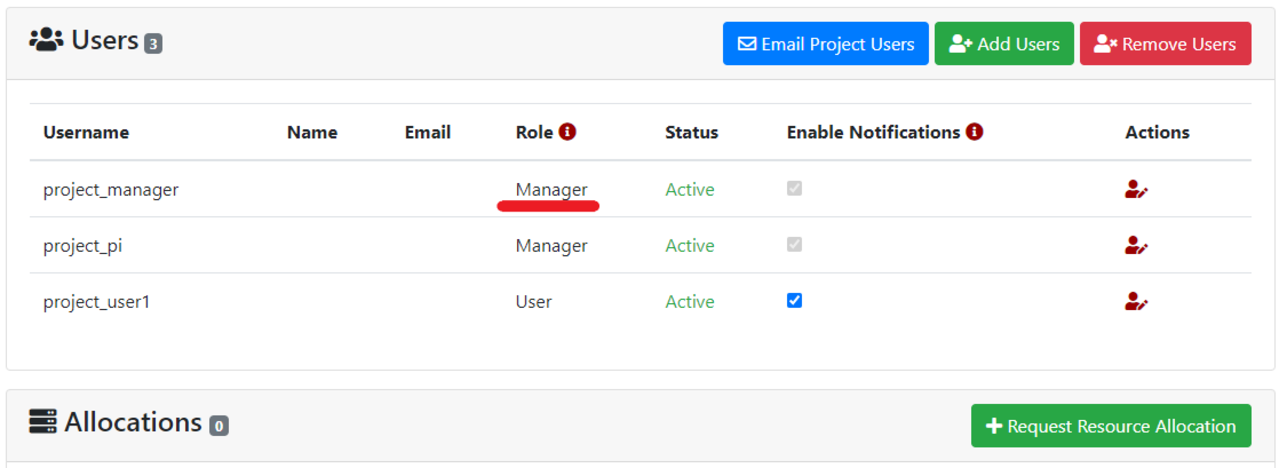
The user now sees your project in the user portal and is able to add/remove users, request new allocations, and manage publications and grants.
1.2 Removing manager access
- Select the edit icon next to the desired user’s username under the “Actions” heading on the Project Details page.
- Change the Role drop-down option from Manager to User.
Select the blue Update button to save the changes.
That user is now listed as a “User” on the Project Details page.
2 Billing information
Update billing information in 2 ways:
- Your user profile if billing details are the same across all your projects
- On a specific project’s Project Details page
2.1 User profile billing information
Access your user profile by selecting your username in the top right corner of the user portal’s header.
Fill in the name, department, email address, and phone number of the person who handles billing for your projects (even if it is yourself).
Select the grey Update Billing Info button to save the changes.
These billing details automatically populate in any resource request form that requires billing information.
2.2 Project billing information
Select the project that needs updated billing information from the home page.
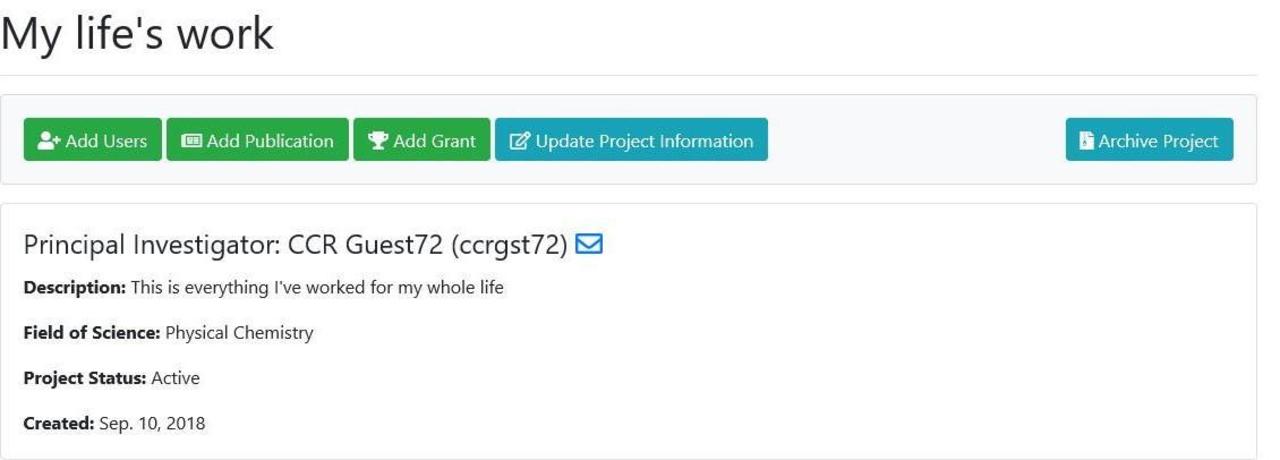
Select the blue Update Project Information button at the top of the Project Details page.

Fill in the name, department, email address, and phone number of the person who handles billing for your projects (even if it is yourself).
Select the blue Save button to save the changes.
3 Email notifications
Laguna users are automatically subscribed to receive notifications from the user portal regarding the project(s) and allocation(s) they belong to. These email notifications include:
- Allocations that are expiring soon. Notifications are sent 60 and 30 days before expiration and then once a week until expiration.
- Allocations that have expired.
- New allocation requests that have been submitted.
- Allocations that have been renewed and are pending approval.
To turn off email notifications, log in to the user portal and click on your project to view its details. Uncheck the check box beside your name under the “Enable Notifications” column.

PIs and any managers of a project are required to receive email notifications.
4 Grant information
The SoCal Research Computing Alliance encourages all PIs to provide information about the grants they’ve received that provide a percent credit to Laguna, direct funds to Laguna, and/or were awarded based on use of Laguna’s resources.
4.1 Adding grants to your project
- Select the green Add Grant button from the Project Details page of the project associated with your grant.
- Fill in all fields pertaining to your grant (anything with an asterisk ( * ) is required).
- Title: Enter the full title of the grant provided by the funding agency.
- Grant Number from funding agency: Enter the grant number provided by the funding agency. If this grant is still pending, enter 0000.
- Role: Choose from Principal Investigator (PI), Co-Principal Investigator (CoPI), or Senior Personnel (SP).
- Grant PI Full Name: If you’re not the PI, enter the PI’s full name. We use this to ensure that we’re not counting the same grant multiple times.
- Funding agency: Select from list. If your funding agency is not in the list, choose Other and enter the name in the next field.
- Other funding agency: Enter the agency’s name if not found in the list.
- Other award number: If there are several numbers given to the grant.
- Grant Start Date: Select from the calendar when the grant begins.
- Grant End Date: Select from the calendar when the grant ends.
- Percent credit to Laguna Resources: This is the number listed on your Sponsored Projects form for a grant submission as financial credit to the department/unit. It is found in the credit distribution section. If you listed a percent of the grant to give to Laguna, enter that here. If not, enter 0.
- Direct funding to Laguna Resources: Funds budgeted specifically for Laguna services, hardware, software, and/or personnel support. If none, enter 0.
- Total amount awarded: Total amount you were awarded in the grant. We use this to show how much Laguna is supporting in research dollars.
- Status: Choose from Active, Archived, or Pending.
Select the blue Save button.
Grant information is now listed on the Project Detail page.
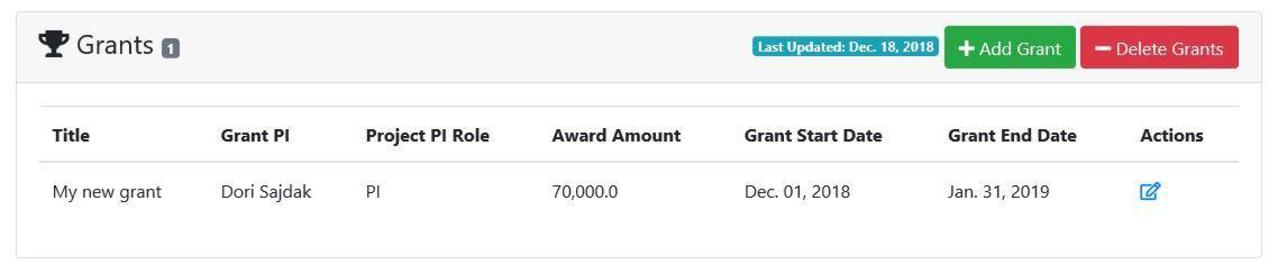
4.2 Editing grant information
Edit existing grant information from the Project Details page. In the “Grants” heading, select the pencil icon under the “Actions” column. Make the necessary changes and then select the blue “Save” button.
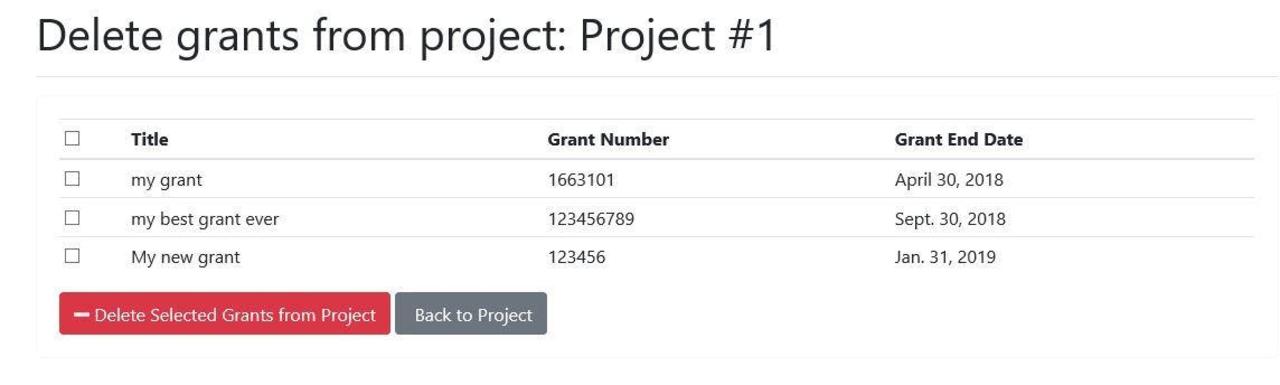
4.3 Deleting grant information
Delete a grant from the Project Details page. In the “Grants” heading, select the red Delete Grants button. A list displays of all grants associated with the project, both active and past (expired). Check the box next to the grant(s) you’d like to delete and then select the red Delete Selected Grants from Project button.
5 Publication information
The SoCal Research Computing Alliance encourages faculty to upload their publication information to the user portal when the publication acknowledges Laguna or the information contained in it directly relates to work done on Laguna.
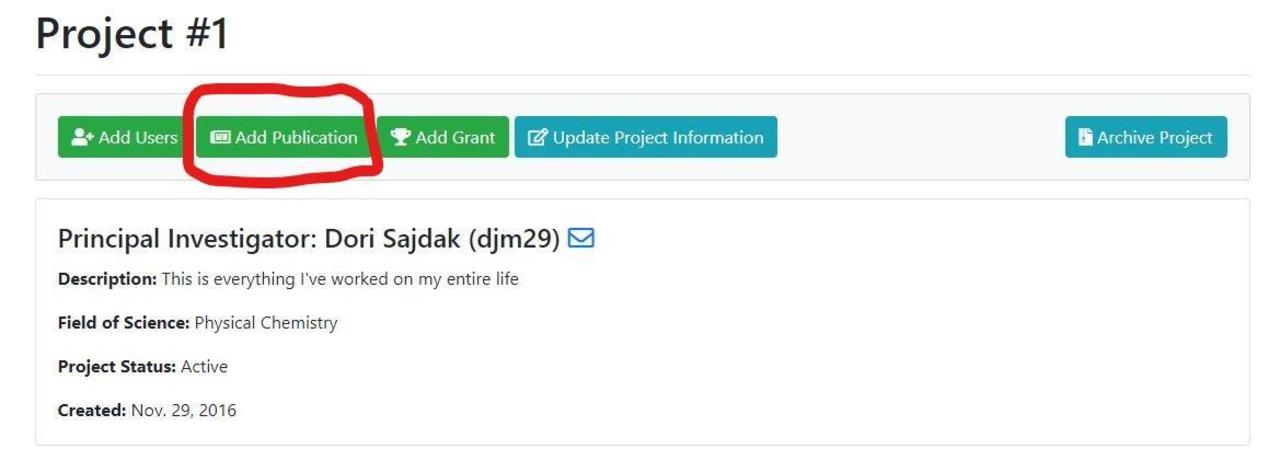
5.1 Adding publications
- Select the Add Publication button on the Project Detail page for your project.
- Enter a “Unique ID” in the text field. This is the Digital Object Identifier (DOI) for your publication. Select Search.
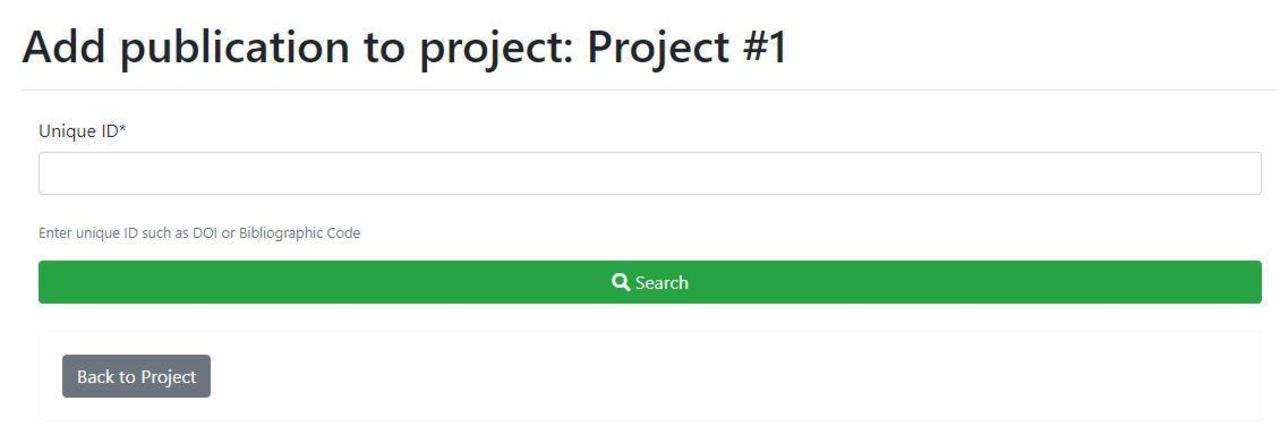
- If the search yields the correct result, select the Add Publication to Project button.
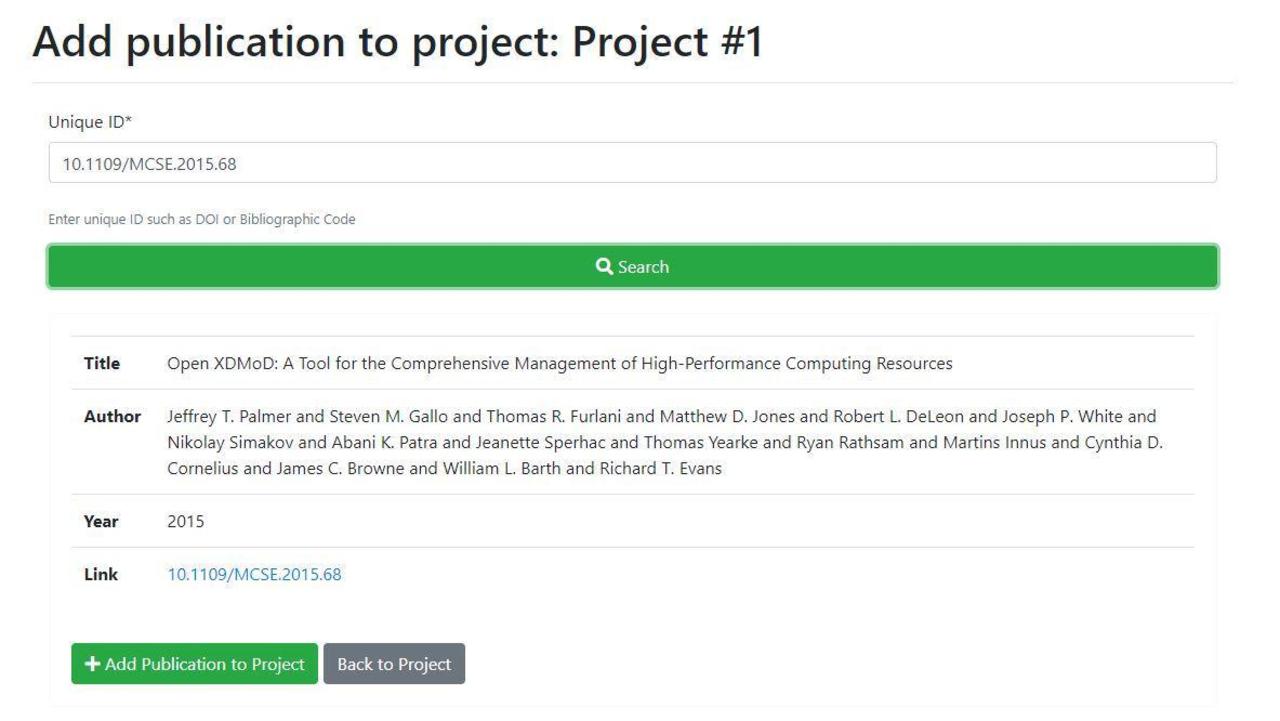
- Your publication is now listed on the Project Details page with a label indicating the last time you updated publications on the project.
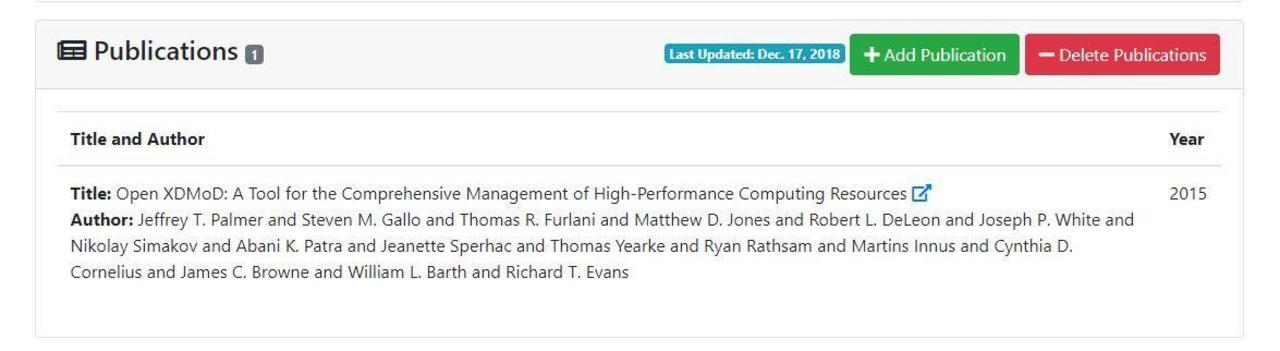
5.2 Removing publications
Delete a publication from your project by clicking the Delete Publications button on the Project Detail page. A list displays of all the publications on the project. Select the one(s) you wish to delete and select the Delete Selected Publications from Project button.
